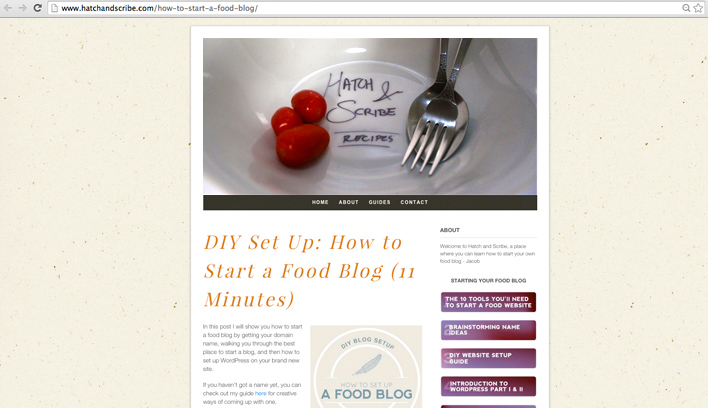
This post will show you how to make your own DIY header for your food blog
Once you’ve got your food blog set up with a domain name and a host (DIY Set Up: How to Start a Food Blog (11 Minutes)), the next step will be to get your brand new blog looking good. The easiest way of doing this is to create an awesome custom blog header design.
If you don’t have any computer design skills, this can be hard. But if you have a simple camera (you don’t need a fancy one), you can easily create your own free DIY blog header with some common kitchen props.
One simple way of creating a food blog header is to find a plain white plate/bowl, and decorate it with a sharpie. I found my plates and bowls at the Korean dollar store.
How To Make Your Own Free Custom Blog Header
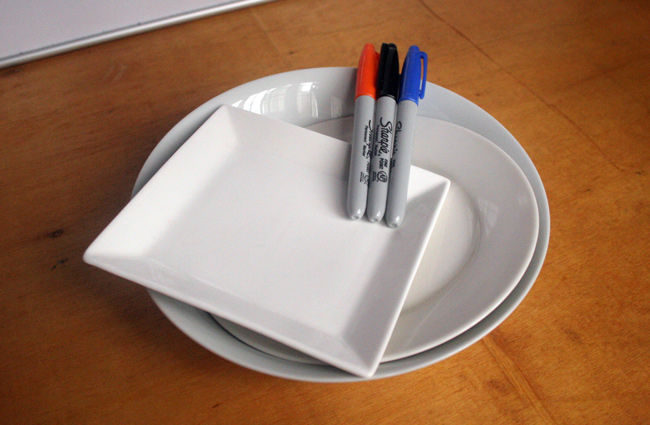
Simple Materials
- Any camera
- White plate/bowl
- Sharpies
- Background setting (I used white cardboard)
- Props (I used a knife and fork, and some plum tomatoes)
You could get more creative by using colored plates, or plates with decorative patterns on them.
I simply used colored sharpies and white plates, and wrote my (fictional) blog name “Hatch and Cook” on them. I tried a few different styles to see what look best.
Styling With Props
Try and add some props into your photo. There are so many options here. If you have a theme for your food blog (baked goods, BBQ recipes, Asian food), think about all of the related props you could use.
Here are some general items you could include in your blog header design:
- Cooked food
- Knives
- Spices and herbs
- Glass jars
- A drink
- Table mat/coaster
- Napkin
- A cute apron
- Kitchen utensils or appliances
- Recipe notes
Playing With the Background
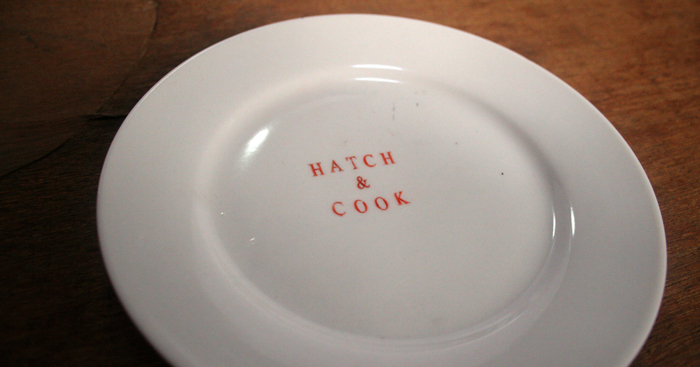
The background you choose will really set the look and feel of your blog header design. Here is a photo where I used a rustic wooden background (and stamps to write out the blog name):
Some ideas for backgrounds include:
- White/black/colored cardboard
- A granite countertop
- Linen
- Tinfoil
- A place setting
- A cooking pan/chopping board
- The kitchen table
Lighting is Key to a Good Photograph
You need good lighting. This is the most important element when photographing your blog header.
Avoid using the lights in your room as they will make your photos look yellow. Instead use the natural day light coming in from a window.
I put my plate on a table near the window during the day. I turned off all of the lights in the room. I also put a white piece of cardboard behind the plate. This bounces light from the window onto the other side of the plate – reducing the shadows you have in the photo.
Play Around With Angles
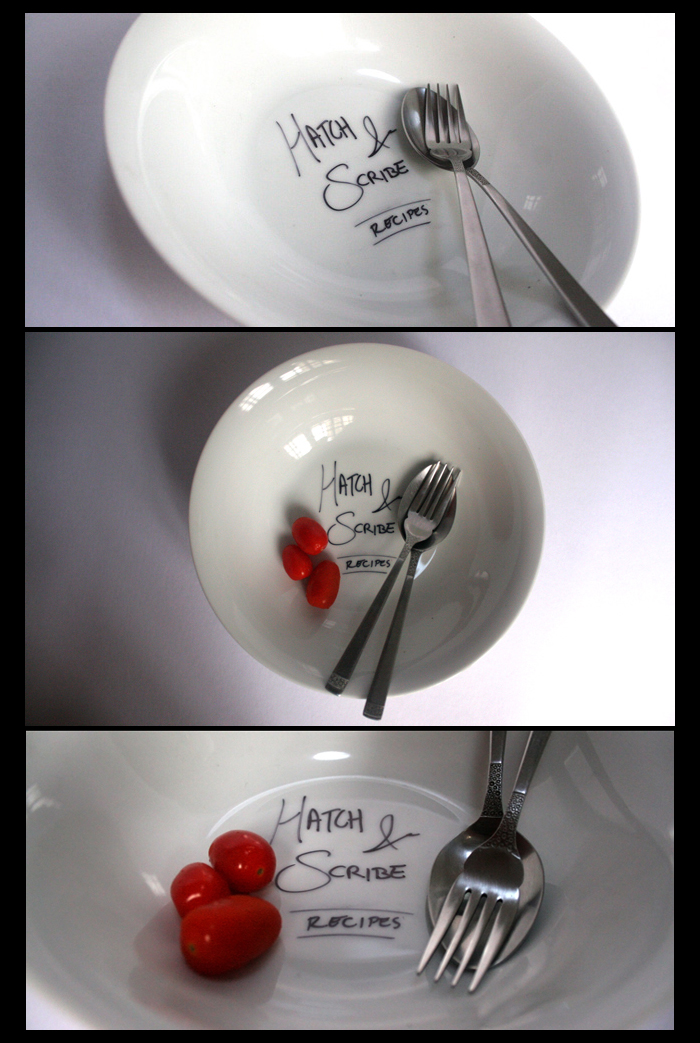
When taking photos, move around a bit and look for different angles. You won’t know what looks best until you get the photos onto your computer. Here are some images of different angles of the same plate:
So there you have it – a simple way to create a custom food blog header design using some sharpies and plain plates/bowls. I’ll be creating more posts showing other ideas of creating DIY graphic designs for your blog.
You can become a food blogger in the next 11 minutes by following my simple tutorial here that shows you how to set up a food blog.


 (A photo of me leaving the Philippines, after Volunteering there for a year and half. While my home design blog was still running.)

