Home Tree Atlas
Start your blog with BlueHost

About Jacob

Author Archive | Jacob

How I Made My First $1000 Month as a Blogger (While I Was Away Volunteering)

How I Made My First $1000 Month as a Blogger (While I Was Away Volunteering)

The first time my home design blog hit $1000 was in November 2015. At the time I was in the middle of the Philippines, volunteering building homes for people who lost theirs from Super Typhoon Haiyan.

I had been volunteering for 1 year and 4 months by this point. And I hadn’t touched my blog while I was volunteering.

I did try running the blog while I was there when I first arrived. But after long days, 6 day work weeks, and very little alone time, trying to volunteer and run the blog quickly burned me out.

So I let the blog run it self. Traffic kept coming in, it even doubled. From 95,000 for the month of August 2014 (when I first arrived) to 185,000 for the month of November 2015 – the month I hit $1000 for the first time. It takes a while for new blog posts to spread through out Pinterest and get up the search rankings.

Even my income grew. It tripled in that same time span.

My first $1000 – What My Blog Looked Like

  • 70% through Adsesne
  • 30% through Amazon and Bluehost
  • 182,000 pageviews
  • 280 blog posts written

The blog was started in February 2013 – so it had been online for 2 years and 10 months. But I had only been working on it for 1 year and 2 months (there was the 1 year and 4 months volunteering and I also spent 4 months working in Beijing when I wasn’t able to work on the blog).

The 3 Biggest Lessons Getting to $1000

1. Work Pays Off Later

This is one of the hardest things to deal with while blogging. That it takes months for your hard work to pay off. I’m even finding it hard now, getting back into building the blog after being away from it for so long.

Seeing the income grow to $1000 while I was away from the blog, it is clear that the hard work from before does eventually pay off. But when you have been slogging away for months, which I have been doing since leaving Philippines in January (it is now the end of March), it is hard to see if the hard work will pay off. Need to keep believing.

2. Little Steps Let You Travel Far

The little things that you need to do for your blog add up over the long run. Like lesson 1, it is hard to see the benefit right away.

It can be hard to pull yourself away from writing posts – the main work that gets you the traffic, and the income. But it these little things that push your blog forward. Here are some examples:

  • Creating a more interesting badge design for my mood board images
  • Adding group pages so people can find and sort through my posts easier
  • Needing to test out new advertising networks to see which ones make money more efficiently
  • Putting up a job posting for a Virtual Assistant
  • Figuring out how to do ‘Rich Pins’ for Pinterest

3. People Quit Too Early

I’ve helped quite a few people start their own blog. And I always try to get them to avoid the classic beginner mistakes:

  • not having a plan
  • not enough focus
  • not enough content

A lot of new bloggers quit after their first month. This is because they didn’t start out with a solid plan. And a solid plan in my book means being focused.

So many people want to create a ‘lifestyle’ blog about food, health, home, DIY, fitness….  At the end of their first month, they end up with a blog that is all over the place. And worse of all, these new bloggers don’t get that satisfaction of building something.

Instead they should of picked 1 subject to start their blog off with. Say food, spicy food. The goal is to write 15 posts in the first month about that. Now comes the end of the month, and there is a a real sense of satisfaction, and pride in building a new blog with 15 posts on spicy food.

Set a Goal of 40

To really try out a new idea, whether that is starting a blog, or using a new social media platform – you need to keep at it for some time to see true results.

  • If you are starting a blog for example (or a Youtube channel) – set a goal of 40 blog posts (or 40 videos) and don’t stop until you’ve reach it. Don’t question if it is going to work or not, just reach that 40 mark.
  • It’s the same with trying out a social platform – such as Instagram. Spend 40 days working it before questioning if it is working.
  • Or there is the new PASSPORT ‘channel’ on Home Tree Atlas – I need to reach 40 posts and then I can evaluate if I want to, and if it is worth to, continue.

How I Plan on Reaching $2,000 – 3,500

  • Keep writing as much as possible
  • Doing the photoshop work and uploading the blog posts takes as much time, if not longer, than writing the posts. So I have hired my first ‘Virtual Graphic Assistant’. I’ve just gone through my first week with him. Lots to learn.
  • Develop new ‘channels’. These are focused areas of the blog, like PASSPORT where I combine travel with interior design.
  • Look to launch my first ‘product’. Not sure what yet, could be in the form of an ebook.
  • Maybe a Youtube channel? Showcasing home decor ideas?

Check out my Income Reports page where I showcase the best bloggers to learn from

Continue Reading ·

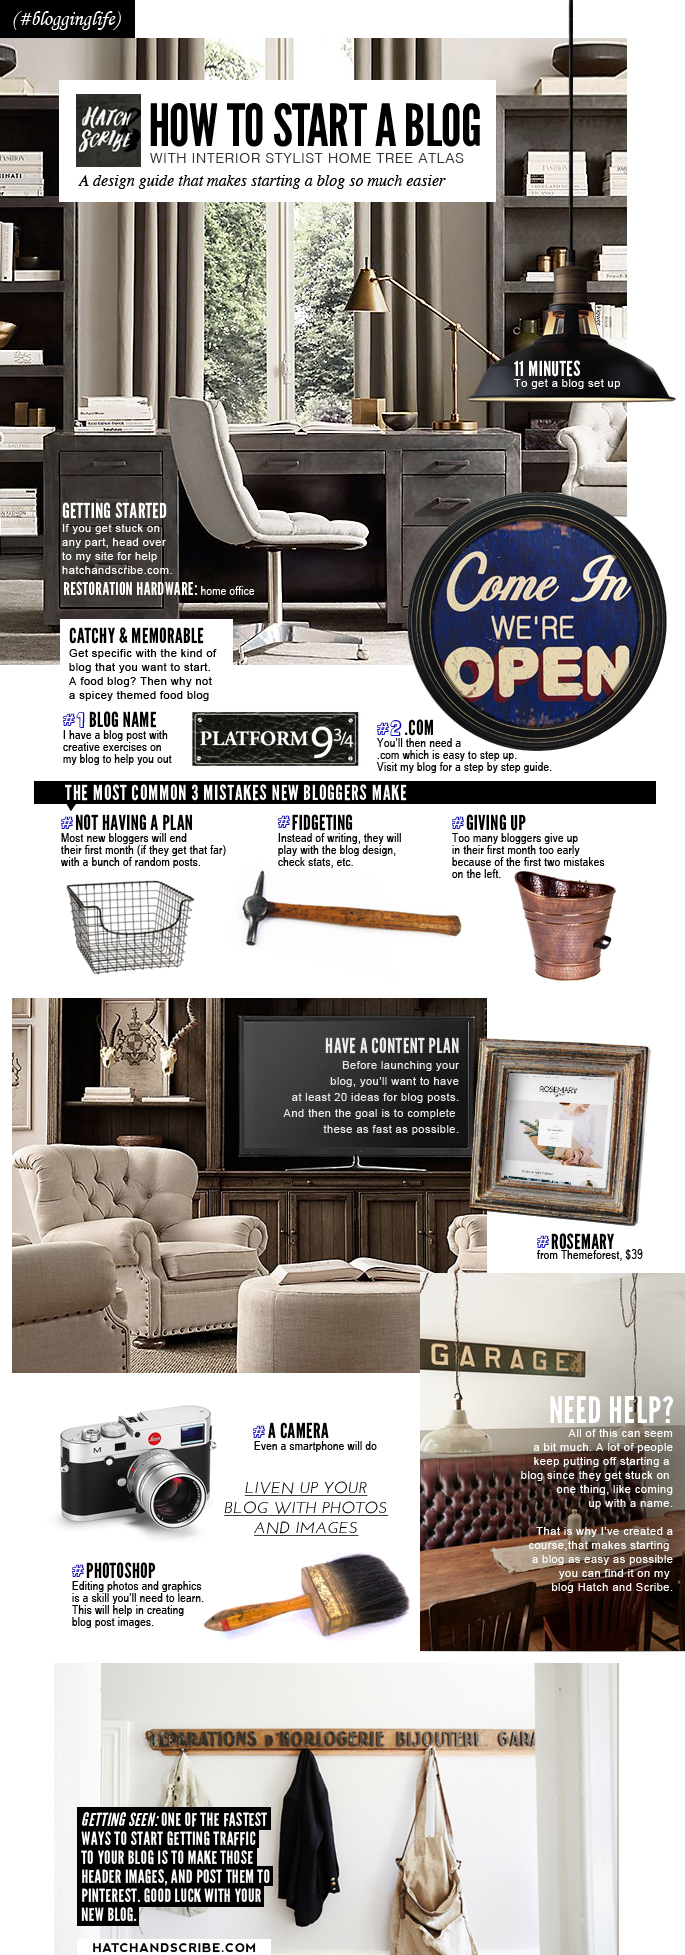
A Design Guide That Makes Starting a Blog So Much Easier

How To Start A Blog

Here is a quick guide for starting a blog I put together. If you are ready to set up your own blog, then head on over to my step by step guide here: DIY Setup – How to Start a Blog (In 11 Minutes)

Continue Reading ·

Income Reports || Hatch and Scribe SELECT

Learn How To Make Money From The Best Bloggers: Income Reports Blogging HQ - March Income Reports Round Up

Here is a quick round up of the latest income reports from bloggers I respect. These are bloggers you can seriously learn from. I have much more planned for this page (what is the average time it takes a blogger to get to $1000, etc) – so pin or bookmark this page and come back soon.

Quick takeaways from reading these income reports:

  • You can learn a lot and find out different strategies by reading how bloggers in other topics run their blogs. My blog (Home Tree Atlas) is in home design, I’ve learned a lot from food bloggers.
  • Sponsored posts is a high generating income area – even for people with low pageview numbers.
  • Having a solid Instagram account can help boost sponsorship income

March 2016 Income Reports Round Up

(Amounts shown are for total income, excluding expenses)

Food Bloggers

*

Home and Lifestyle Bloggers

*

Travel Bloggers

*

Fitness Bloggers

*

Business and Finance

*

Check back soon for more stats.

Continue Reading ·

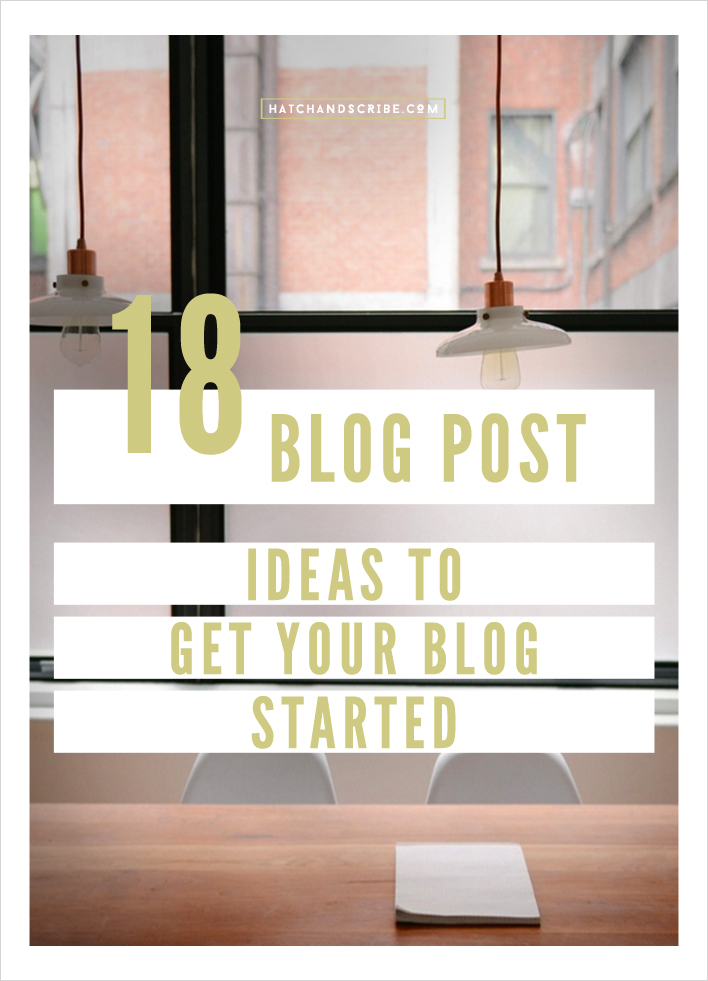
Start Blogging: 18 Blog Post Ideas To Get Your Blog Started

Start Blogging: 18 Blog Post Ideas To Get Your Blog Started

Once you’ve done the technical part of setting up your new blog, the next step is to start posting.

Posts are the life blood of starting any blog. And I see too many new bloggers give up too soon.

The best way to overcome an early exit is to plan out 10-20 posts that you want to write. And get writing. Because once you have written these posts, you will have felt that you have invested your time and energy into your blog and won’t want to give up.

Don’t be checking stats, playing around with your blog’s design, or spending your time on social media. Focus on getting posts published.

All of the first blog post ideas below can be catered to the topic of your blog.

Unique and Creative Blog Post Ideas

1. Create a post showing a personal behind the scenes look of your blog and or something related to your blog. If you are a photography blogger then show your camera set up, how you organize your closet if you are a fashion blogger, or show off your kitchen if you are a food blogger

2. What’s in your.. (camera photography bag, makeup bag, closet, kitchen, travel bag, on your desk)

3. Do an Interview on the subject of your blog, starting with close friends and family

4. Share a list of goals (related to your blog) that you have for the next 6 months

5. List out related blogs that inspire you

6. Create a weekend tutorial – whether it is a recipe for a food blog, organising tips for travelling, putting together a dinner date outfit, a beauty tutorial post, a fitness workout routine, or a home DIY project

7. Share a round up of your new favourite pins that you have found this week about your blog’s subject

8. Do a review of something you’ve bought recently or something that you use often – relating to your blog

9. Share the 5 items that you can’t live without – relating to your blog’s topic

10. Create something that solves a problem for your readers – a packing list for techie/women/men/family travellers, a kitchen hack, a closet essentials checklist, a camera DIY, fitness hack

11. Share a round up of the best and popular videos (Youtube) on your subject

12. Create a gift ideas post for people who are into your subject

13. Write a post title along the lines of ‘How to Organize ______’

14. Dream big. If money was unlimited, share what would you do (relating it to your blog’s topic). “My Dream Kitchen”, “My Dream Travel Destinations”…

15. Write up a list of things you wish you knew about your topic when you were ___

16. Create a post on what people should avoid doing – or what people are overdoing in your subject

17. Create a fun photo list post. Here are some simple and creative ideas: 10 Photos of Delicious Lasagnes with White Sauce, 12 Photos That Will Make You Want to Visit (Your home town), 8 Photos of Stunning Home Workshops, 9 Photos of Perfectly Curated Closets. You can find these images on Flickr, or embed Instagram photos into the post. You can change the title of the post from ‘photos’ to ‘pins’ and use pins from Pinterest

18. Share the meaning behind your blog’s name – and why you started the blog. These are the questions I ask people when I am helping them come up with their blog name (How To Brainstorm Blog Name Ideas You’ll Love)

More blogging posts for beginners:

Continue Reading ·

The 9 Perks of Being a Blogger

The 9 Perks of Being a Blogger

I split my time between writing posts on how to start your own blog here on Hatch and Scribe, and running my home design website Home Tree Atlas. It has taken a lot of hard work but I am now a full time blogger.

Here are some of the most important perks you get when you become a full time blogger.

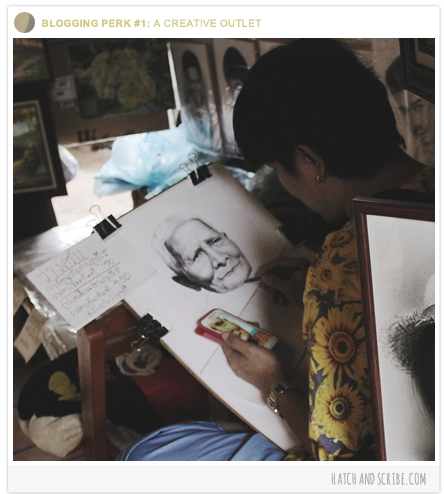
1. Your Own Creative Outlet

The 9 Perks of Being a Blogger: #1 A Creative Outlet

You blog becomes a place for you to experiment, learn, create, and try new things.

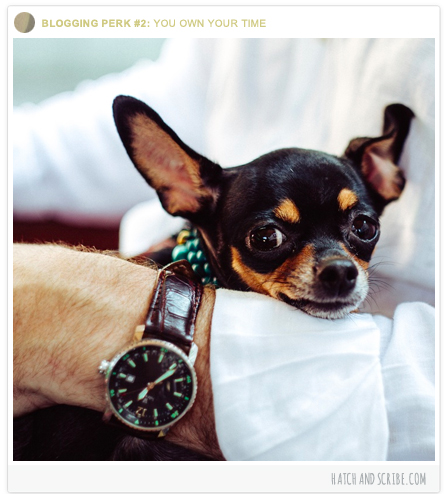
2. There Is Less Stress When You Own Your Time

The 9 Perks of Being a Blogger: #2 You Own Your Time

I get to own my time. None of it is wasted on meetings.

I like working out when the whether is good, which means going for a run during the middle of the day. I can go shopping during the middle of the work week when the shops are less busy.

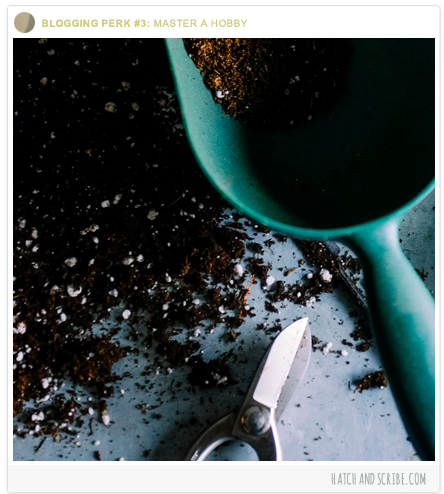
3. Time To Study/Master a Passion

The 9 Perks of Being a Blogger: #3 Master a Hobby

You get to focus your time on getting better at a hobby and a subject that interests you deeply. And keeping a blog about it keeps you accountable since it is made public, and you get to see your progress as your blog grows.

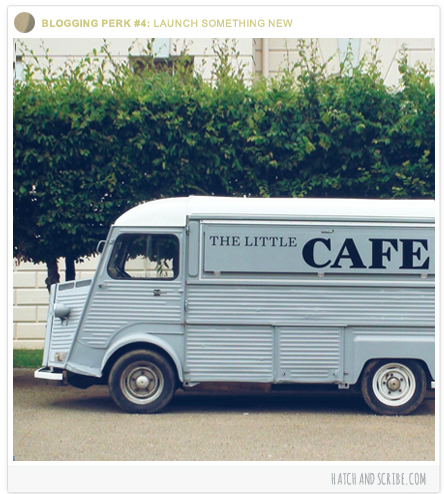
4. Getting to Launch New Ventures

The 9 Perks of Being a Blogger: #4 Launch Something New

Turning a blog into a business itself, is a challenge and hard to maintain.

But once you have built an audience for your specific subject, you can leverage this by launching mini businesses – whether that is in the form of online courses, books, products, or starting an online shop.

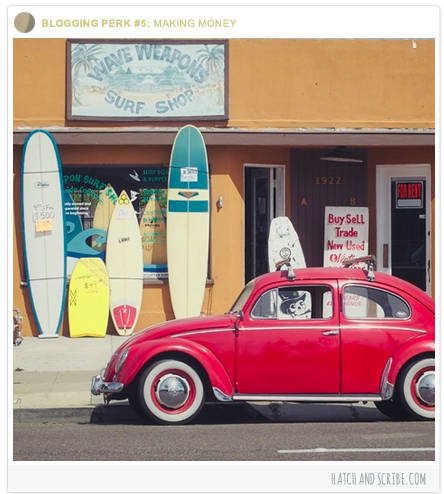
5. Making Money

The 9 Perks of Being a Blogger: #5 Making Money

Being able to make money by doing something that you love is always a perk.

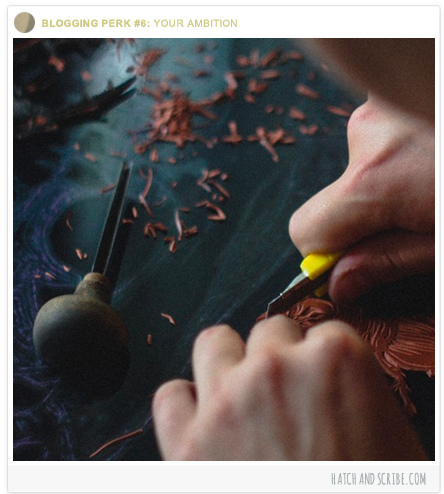
6. Ambition – Nothing is Stopping You

The 9 Perks of Being a Blogger: #6 Your Ambition

You don’t have to wait on anybody, or get the green light from a boss to work on something. You are in total control – and you can push as hard as you want, or even take it easy when you need too.

For me everyday feels like a workday, but at the same time everyday feels like the weekend. I get to work on whatever I want to, and at the same time I can take a TV break and have lunch – or head outside for a run.

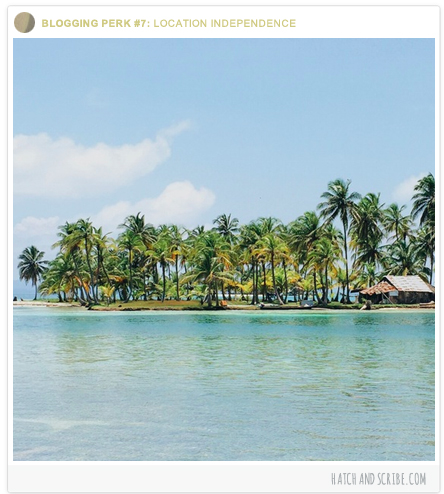
7. Location Independence

The 9 Perks of Being a Blogger: #7 Location Independence

Everything is online. Which means you can take your laptop and continue working on a beach in Asia, or within the mountains of Nepal.

You can even hire an online assistant in a totally different country to help you keep everything running smoothly.

8. Meeting New People

The 9 Perks of Being a Blogger: #8 Meeting New People

When you have the power of your blog behind you, it feels easier to reach out to others within your topic – to chat and share ideas. You have some authority in your field when you have a blog that you have built. “Hi I’m Jacob from Home Tree Atlas, I was wondering how….”

9. Helping Others

The 9 Perks of Being a Blogger: #9 Helping Others

Once you know how to create a successful blog, and all the techniques that come with building it (social media, photography, post ideas, etc), you can start helping other people create their own ideal lifestyle around their hobbies and passions.

Which is what I am doing here on Hatch and Scribe.

Continue Reading ·

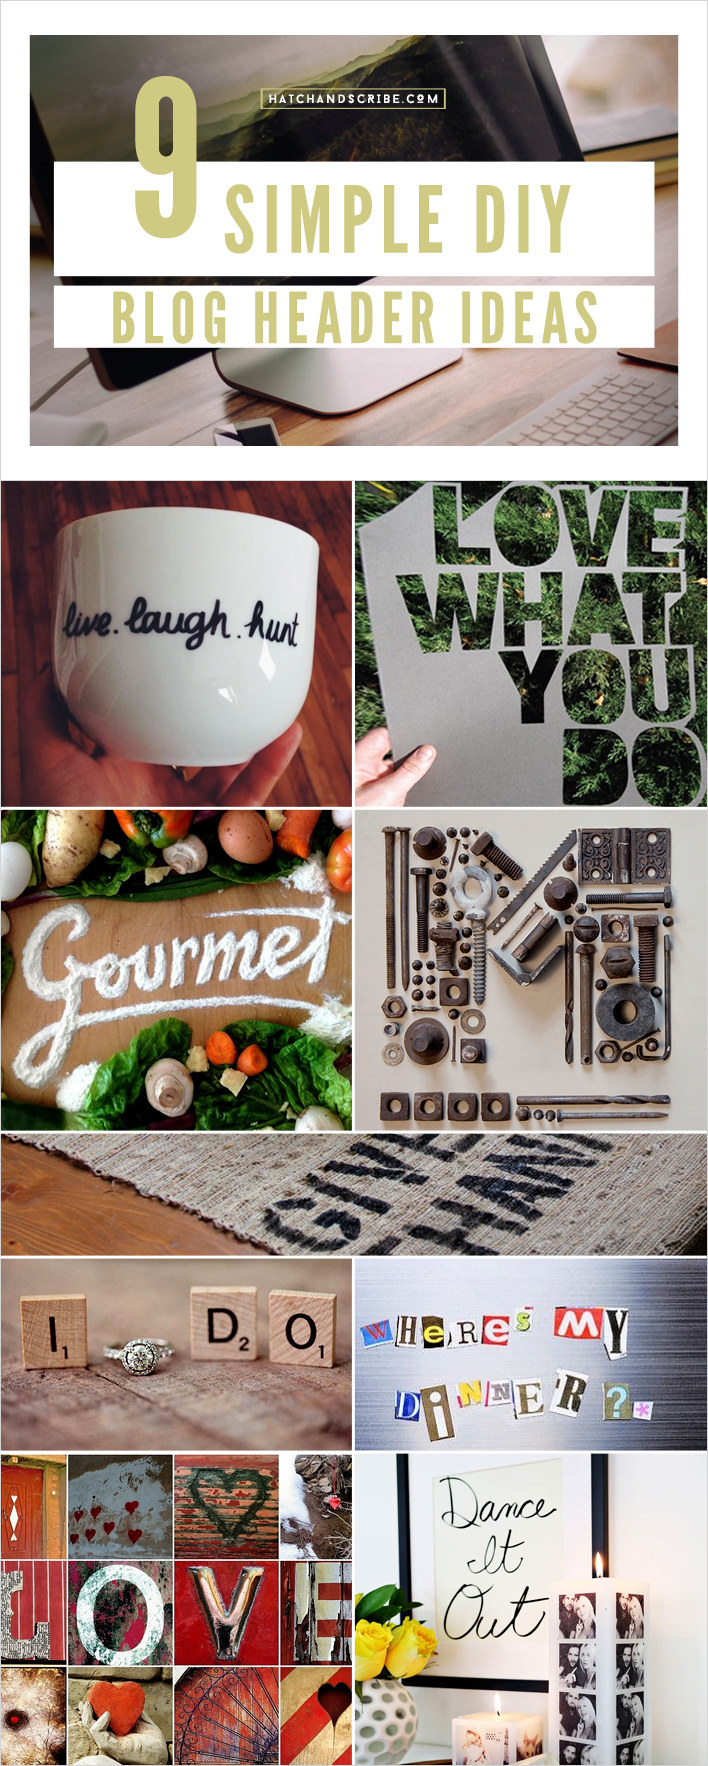
9 Simple DIY Blog Header Design Ideas

9 Simple DIY Blog Header Ideas

To create your own free blog header, you really only need a simple camera (or smartphone) and a little creativity. This is where I come in – Mr Blog Header Maker.

I’ve come up with a list of creative ideas that show you how to make a blog header design of your own. And at the end of the article, I give a few photography tips on how to get the best picture of your DIY project.

I use BlueHost for Hatch & Scribe and my home design blog Home Tree Atlas
My guide here will show you how to register a .com and set up a blog.

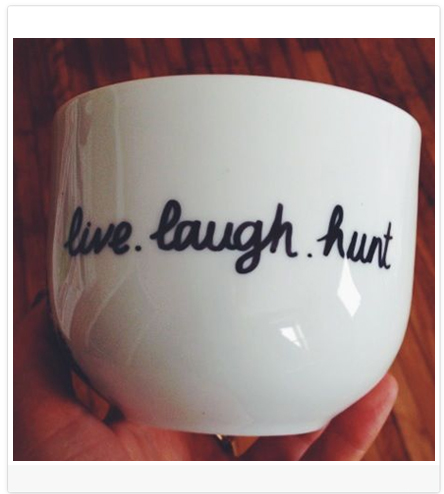
1. The  Sharpie – Sharpie everyday household objects with your blog name – from mugs, plates, to Converse shoes, t-shirts, or a backpack

DIY Blog Header Design Idea #1 of 9: Use a Sharpie to write on ceramic

Jessica Rose

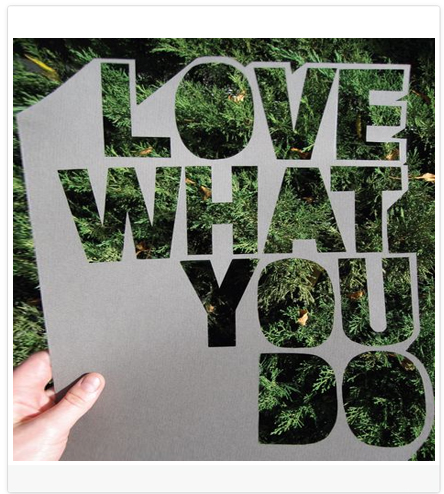
2. The Cutout – Take a piece of cardboard and cut out the name of your blog. Then take this cutout and put it up against a unique texture like a tree, water, fire, or anything really..

DIY Blog Header Design Idea #2 of 9: Cut out your blog name and photograph over different textures

Friends of Graphic Design

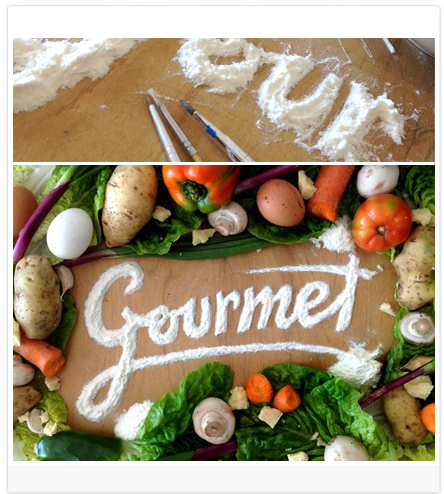
3. The Food – If you are starting a food blog, then why not head to the kitchen and use ingredients to spell out your blog header. Use flour, sugar, icing, raisins, coffee beans, cooking oil…

DIY Blog Header Design Idea #3 of 9: Use ingredients to spell out your blog's name

Behance

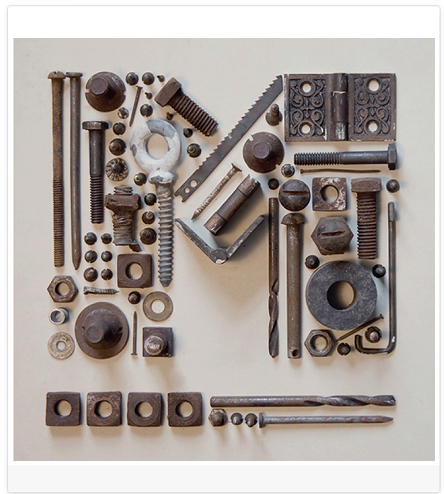
4. The Everyday You can also use everyday items to spell out your blog name – from electrical cables and pebbles, or fabric for a fashion blog. You don’t have to spell out the entire name of your blog – you can just create the first letter.

DIY Blog Header Design Idea #4 of 9: Use everyday items to spell out or just create the first letter of your blog

Studio TwentySix2

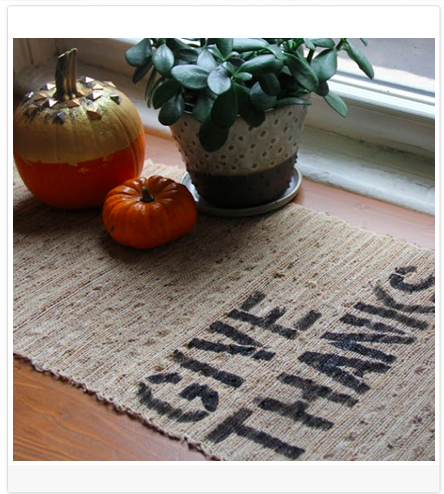
5. The Stencil – You can create a stencil, or buy stencil letters, and paint over anything that relates to your blog. Some examples include stencilling over over photographs, fabric, clothes, or scrap wood.

DIY Blog Header Design Idea #5 of 9: Cut out a stencil and spray paint an item that relates to your blog

I Spy DIY

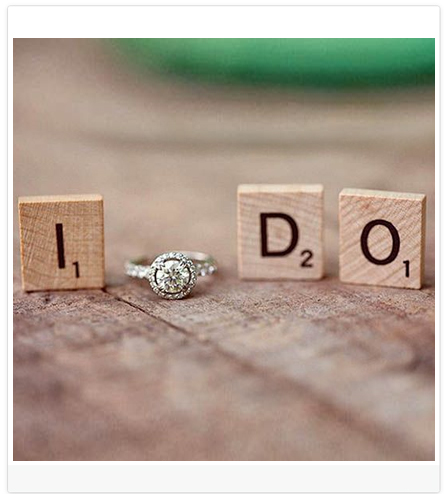
6. The Game of Scrabble – Think of creative places where you can spell out your blog name with Scrabble letters

DIY Blog Header Design Idea #6 of 9: Use Scrabble letters to spell out your blog's name

Sweetest Petunia

I was able to create these photographs for a blog header pretty quickly:

DIY Blog Header Design Idea #6 of 9: Use Scrabble letters to spell out your blog's name

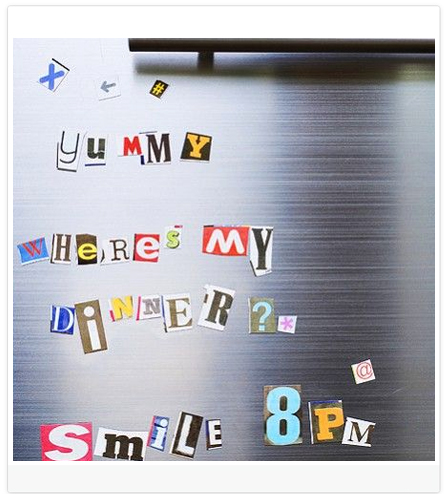
7. The Ransom Note – Another way to spell out your blog name is to cut out letters from magazines. Then just think of a place that relates to your blog to lay them out. Like on the fridge if you are starting a food blog, on asphalt if you are starting a travel blog, or on top of a dress for a fashion blog.

DIY Blog Header Design Idea #7 of 9: Cut out magazine letters and stick them in a place related to your blog (ie fridge for a food blog)

The Letter Room

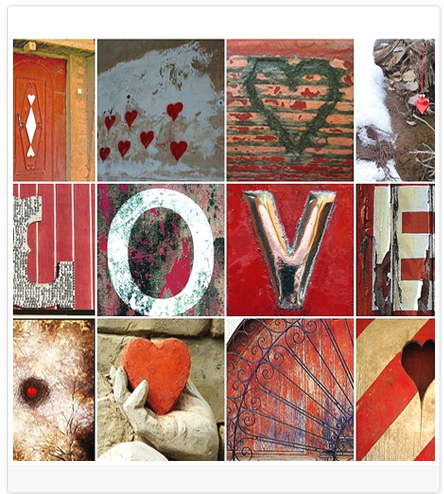
8. The Snapshots – Take different photographs of letters to spell out your custom blog header design. Instagram has a Layouts app that you can use to layout the photos together.

DIY Blog Header Design Idea #8 of 9: Take photographs of different letters to spell out the name of your blog

Suzy Pierce

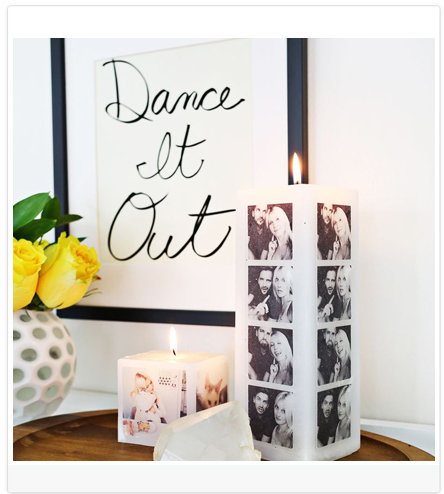
9. The Frame – One last idea is to handwrite your blog name and frame it. Create a setting around it for some added style. Not only do you get a custom blog header from this DIY, but a framed piece of artwork to keep you inspired while starting your blog.

DIY Blog Header Design Idea #9 of 9: Handwrite your blog's name, frame it and create a setting around it.

A Beautiful Mess

Mix and Match Different Ideas

Keep getting creative. Mix and match the different ideas above to create unique free blog headers.

  • Mixing together the Sharpie and the Scrabble ideas: Take Scrabble letters and lay them on a white sheet of paper – then Sharpie doodles around the letters.

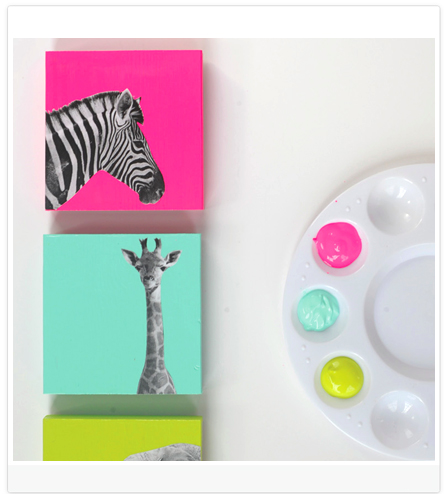
Look at other DIY ideas and images on Pinterest for inspiration and combine them to create new blog header ideas. For example: the wooden art blocks DIY seen below can be combined with Scrabble letters to spell out your blog’s name. I found the wooden art blocks DIY just by searching for “DIY art” on pinterest – and I found a lot of cool ideas.

Creative Blog Header Ideas

Alice and Lois

Simple Photography Tips Mini Tutorial

It doesn’t matter which idea you use to create your own DIY blog header, you will need to be able to take a good photograph of it. This can be done with any camera or smartphone – but there are just a few tips to follow to get a good looking photograph.

1. Lighting is Key

The light you use to light up your header will determine if it looks good or not. Most people will just take the photograph in their room, using the lights in the room. This is a big mistake.

Instead, turn off all of the lights in the room. And set up a table near a window. Natural daylight coming through the window is the best way to get a good looking photograph. If this is not an option, then go outside – but only in the morning or late afternoon. You don’t want mid day sunlight as it is too harsh.

2. Creating a Setting

The background you use for your photograph can make or break the picture. Use something interesting, like an old piece of wood. Or how about a sauce pan if you are starting a food blog. Or use a large sheet of white/black/green paper if you want a more minimalist look.

Other ideas include using the grass in the garden, ceramic tiles in the kitchen, asphalt, or pebbles to create the background for your blog header.

There is also props to play with. Use kitchen utensils for a food blog. Ticket stubs for a travel blog. Scraps of fabric for a fashion blog. Black and white photos for a photography blog. Get creative – find objects that relate to your blog.

Just by following those 2 simple rules: Lighting and Creating a Setting, you’ll be able to take a good looking photograph of your DIY blog header.

Check out my other simple guides:

Continue Reading ·
free hit counter