The 10 Tools You’ll Need To Start a Food Blog
Pin to save this for later or get started now >>
Having your own food website is a great way to share your passion and make some new friends who have the same interests as you. And if you work hard, you can even make money from your website.
Starting your own food blog is not as hard as it seems. There are a a few tools you’ll need to getting everything set up, but they are all quite simple and I’ll walk you through how to use each one.
1. A Name
The first thing that you will need to start your food blog or food website is a name. This is an important step, and a lot of people find it a hard one. Your name can tell a lot about who you are and what your site is about. Is the name fun a joyful, or is it serious? Is it something personal, or is it a name that shows you are helping others? Your name can show the kind of audience your site has and the kind of content you create. Imagine a name with the word “baking” in it, or “gluten free”, or “mother” – right away you have a general feeling of what the site will be about. Maybe even what it looks like.
A good name will help you write powerful content, create meaningful branding, and attract a loyal following. It is an important part of your site, but there are some simple and easy steps you can take to create your name. Follow along with my post here to come up with your awesome name. And if you need more help, then check out my #blogger life blogging course and we can brainstorm together (How To Brainstorm Food Blog Name Ideas You’ll Love).
2. A Domain
A domain name is your address on the internet www.myfancyfoodwebsite.com. It is just like a normal house address – it’s a way for people to find you, but online. It usually costs about $11-$16 a year for your own domain name, but in the hosting section below I’ll show you how you can get your domain name for free.
3. A Hosting Account
You are going to need a hosting account. This is like an online hard drive, a place online that stores your website’s files (posts, pictures, comments, etc.). So when people visit your website, your host sends them all of the files.
If a domain name is the street address, think of the hosting account as the house itself. When you go to a friends house, you need the address. Then when you go into their house – they will serve you lemonade and cookies 🙂
In my post here I go over everything you need to know about easily setting up your hosting account and domain name. Don’t worry, it is all pretty simple and straight forward to do. This step is a lot easier than coming up with the name for your food website.
When it comes to hosting accounts, I would recommend using BlueHost. It is the one I use for Hatch and Scribe and my home design blog Home Tree Atlas. When you do sign up with BlueHost you will get a free domain name, and setting up a website takes only one click. (DIY Website Set Up: How to Start a Food Blog (11 Minutes))
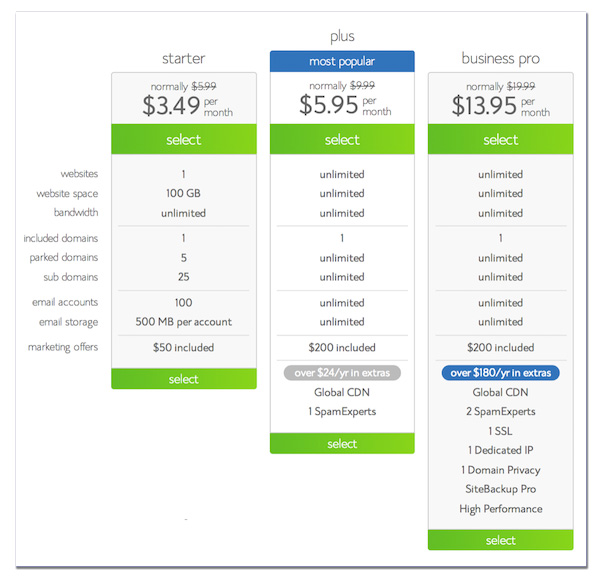
I use BlueHost for Hatch and Scribe and my home design blog Home Tree Atlas – Bonus: you get a free domain name with them. Start your own blog with the Starter Plan for only $3.95 a month.
4. WordPress
Once you have your food website setup, you are going to want to put things on it. Like blog posts, recipes, or even an online store. WordPress is the best, and most popular way to upload everything you want onto a website. It is a way to manage your content. When you are on your favorite food blogs, most likely they are using WordPress.
It is really simple to set up WordPress on your site, and to use it. I go over how to set it up and use it in these posts:
- DIY Website Set Up: How to Start a Food Blog (11 Minutes)
- Introduction to WordPress Guide – Writing Your First Blog Post
5 A Design Theme
Now that you have your website all set up, you’re going to want to make it look good. This is where themes come in. A theme is the design of a website. The great thing about using a theme is that you don’t need to know any programming to set it up. Just one or two clicks and it is installed. With one click I can have my Hatch and Scribe website look completely different.
There are many themes to choose from. Do you want a clean and minimalist site, a colorful and bright website, or a more wholesome website with lots of photos?
You can use free themes that come included when you install WordPress, or you can go out and find premium, great looking themes that will cost around $50. ThemeForest is a great place to look for themes. One food related theme would be the Food Recipes WordPress theme seen below, which is available here:
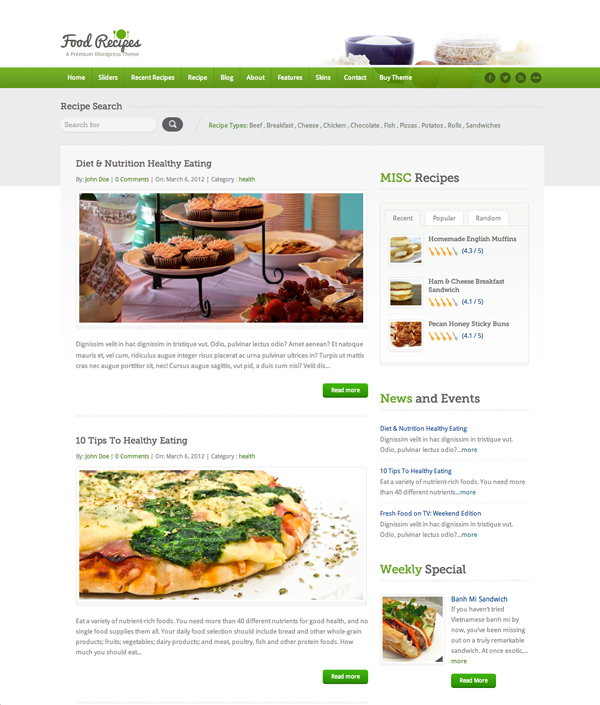
The Food Recipes theme is available here
I go over how to put a theme on your website in the WordPress guide I mentioned above (WordPress Intro).
6. A Camera
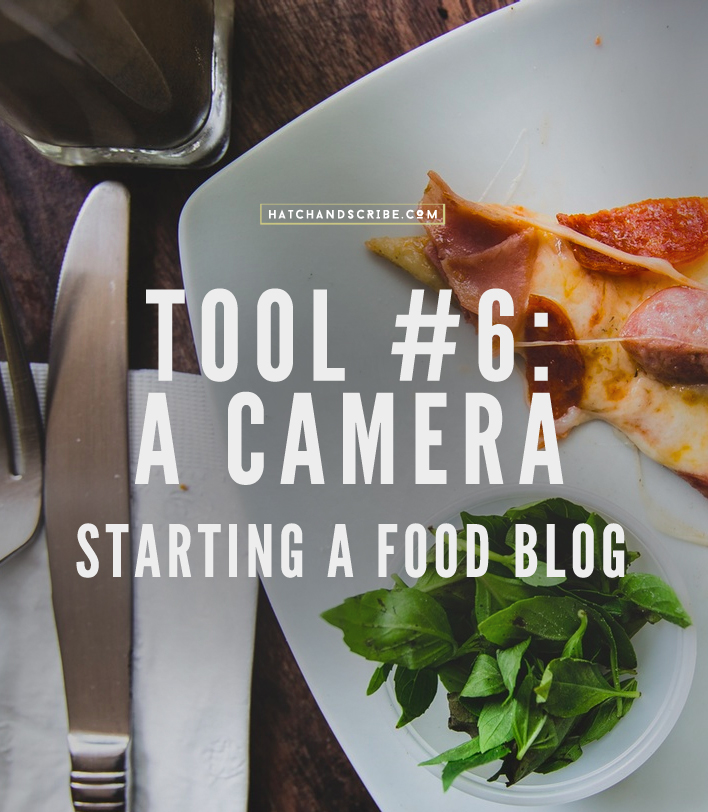
When you are on Pinterest and your favourite food blogs, what do you see? Tons of mouth watering photos. It is important for a food blog to have photos. Not only will this make it more interesting for your audience when they are reading your posts, but the photos will really help make people share and spread your website.
The best camera to use, is the one you have. Especially when starting out. You don’t need to have professional looking pictures like the experienced food bloggers. It took them time and practice to get to that level. When starting your food blog, you want to see if you enjoy the whole business – creating the posts, coming up with content ideas, managing social media accounts. Once you get going, only then do you want to start getting fancy with photography.
But if you are ready to start taking better quality photos, then you’ll need a DSLR camera. These cameras let you control all the settings when taking photos. Your photos will have depth of field – which will make the food look great. I’m a fan of Canon cameras, and the Rebel T3i is the one I would recommend for a starter: you can find it here.
Quick tip: The two things you need to take great looking photos are: good lighting and a good looking background. The easiest way to get good lighting for your photos is to take your food (or whatever you are taking a photo of) and place it near a window during the day. Everything will be bathed in natural light – making your photos look good. Avoid using lamps or the ceiling lights in your room – they will make the photos look yellow and bad.
7. A Background
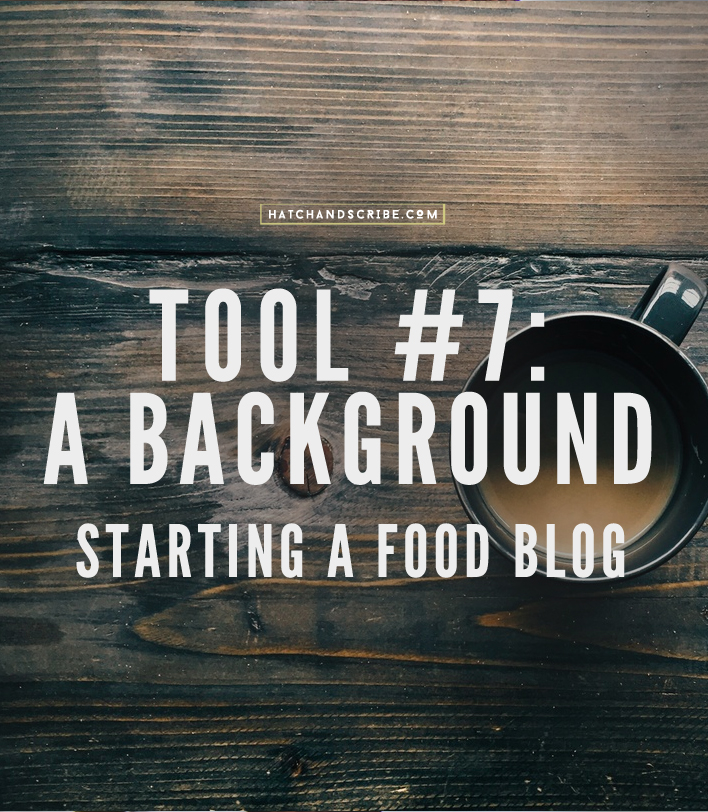
Getting the lighting right is the most important step in taking great photographs. As mentioned above, if you use natural day light that comes through a window you are all set. Another thing that you will need to take great looking food photographs is a background. This will be something that you can place your food on top of and will add to the look of the photos.
Your background will all depend on the style you like, and what your food blog is all about. The background could be a baking tray, reclaimed wood, black cardboard, white cardboard, marble, or linen. Keep it simple.
8. Submission Sites
The best way to spread a food blog is to use submission sites. These are websites where you can submit your own recipes for other people to see. Some of the food submission sites out there include:
Then there is always Pinterest. But what I like best about submission sites, is that they help get your posts spread on Pinterest. When starting out on Pinterest you will only have a few followers. So when you pin your own photos – there will only be so many repins. But when you submit to those sites above, other people will pin your photos and posts, their followers will see it and repin. Much better.
9. Money Generators
If you start your website and find out that you enjoying food blogging, you can then start creating ways to make money from your food blog. Here are the 3 main ways to generate income:
Ads: The simplest way to make money from a blog is by putting ads on your website – this is as easy as copy and pasting a few lines of text. Google Adsense would be the best place to get started, then move onto BlogHer.
Selling Other Peoples Products: Another simple way of making money from a food blog is through Affiliate Marketing. This is when you mention someone else’s product on your website. For example: say you wrote a post on baking brownies and showed that you used this brownie pan that makes every brownie slice an edge slice. Since this product is on Amazon, you can link to it in your post. If people who read your post click on the link and buy it, you get a commission. That’s affiliate marketing.
Sell Your Own Product: The great thing about having your own blog is that you get to build up a following, an audience that is interested in the same topics as you are. Once you have a following of say brownie enthusiasts, Mexican food lovers, or spicy foodies, you can create your own products to sell to them. You could create a mini Brownie Infusion cook book and sell it on your site. You could create your own brownie pan and sell it, your own brownie mix, or special brownie toppings.
10. Food Blogger Pro
The last, and the most important, tool you’ll need to start your own food blog is Food Blogger Pro. This is a membership site for food bloggers, one that I’m a member of. There you’ll not only find a ton of useful guides for everything food blogging related, but awesome people who are just starting or pros in the food blogging world. Here are some the important things the membership, which costs $1 for the first month so you can try it out and $25 a month after, includes:
- In-depth guides on food photography
- How to use social media, like Pinterest, to build traffic to your site
- How to get accepted to submission sites
- Best of all, a community of like minded people who are all eager to help one another out
I’d say this is the most important tool when starting your own food blog. Head on over to Food Blogger Pro to sign up
It might seem like a lot, the list of 10 tools to start your own food website, but really it is all quite simple. Just take it one step at a time and you’ll be a food blogging pro in no time. The first step is to come up with a name. Get started here: How To Brainstorm Food Blog Name Ideas You’ll Love.
If you already have a name, skip that step and go to the part of setting everything up: Food Website Setup.



 (A photo of me leaving the Philippines, after Volunteering there for a year and half. While my home design blog was still running.)

